A stiff lower back is one of the most common reasons people try yoga. This routine is designed for everyday stiffness: the tight, achy feeling after a long day of sitting, a long drive or a poor night’s sleep. It stays close to the floor, moves slowly and gives you an easier option wherever one helps.
Research suggests yoga can modestly help some people with chronic low back pain, and the American College of Physicians includes it among the non-drug approaches it recommends for chronic low back pain. It isn’t a treatment for injuries or a replacement for medical care, though, so please read the next section before you begin.
When to see a professional first
Talk to a doctor or physical therapist before trying this routine if your back pain:
- started after a fall, accident or injury
- is severe, getting worse, or keeps you awake at night
- comes with numbness, tingling or weakness in your legs, or pain that travels below your knee
- comes with a fever or unexplained weight loss
Seek urgent medical care if you have back pain together with numbness around your groin or buttocks, or new trouble controlling your bladder or bowels.
What you need
- A mat or a rug
- A pillow or folded blanket
- Optional: a yoga block or a firm cushion
The routine at a glance
| Pose | Time |
|---|---|
| Constructive rest | 1½ minutes |
| Pelvic tilts | 1½ minutes |
| Knees to chest | 1½ minutes |
| Lying figure four | 2 minutes |
| Lying twist | 2 minutes |
| Cat–cow | 1½ minutes |
| Child’s pose | 1½ minutes |
| Sphinx | 1 minute |
| Bridge lifts | 1½ minutes |
| Rest | 1 minute |
What “gentle” means here
Backs differ. Some people feel better with gentle rounding of the spine, like knees to chest; others prefer gentle arching, like sphinx. Pay attention to how each pose feels during and just after it, keep what feels good, and skip what doesn’t. A mild stretch is fine. Sharp, pinching or radiating pain is your signal to stop.
Step by step
1. Constructive rest
Time: 1½ minutes
Lie on your back with your knees bent and your feet flat on the floor, a little wider than your hips. Let your knees lean in toward each other so your legs can relax. Rest your hands on your belly and breathe slowly, letting your lower back settle toward the floor without forcing it.
2. Pelvic tilts
Time: 1½ minutes
From the same position, breathe out and gently press your lower back toward the floor, tilting your pubic bone slightly toward your belly button. Breathe in and let your back return to its natural curve. Keep the movement small and smooth, like a slow rock. Repeat about ten times.
3. Knees to chest
Time: 1½ minutes
Draw both knees toward your chest and hold your shins or the backs of your thighs. Rock slowly from side to side, then make small circles with your knees. If hugging both knees feels like too much, keep one foot on the floor and hug one knee at a time.
4. Lying figure four
Time: 2 minutes (1 minute per side)
With both feet on the floor, cross your right ankle over your left thigh, just above the knee. Keep your right foot flexed. Stay here, or lift your left foot and hold behind your left thigh, drawing your legs toward you until you feel a stretch in your right hip and buttock. Switch sides.
Make it easier: Keep your left foot on the floor, or rest it on a wall to support your legs.
5. Lying twist
Time: 2 minutes (1 minute per side)
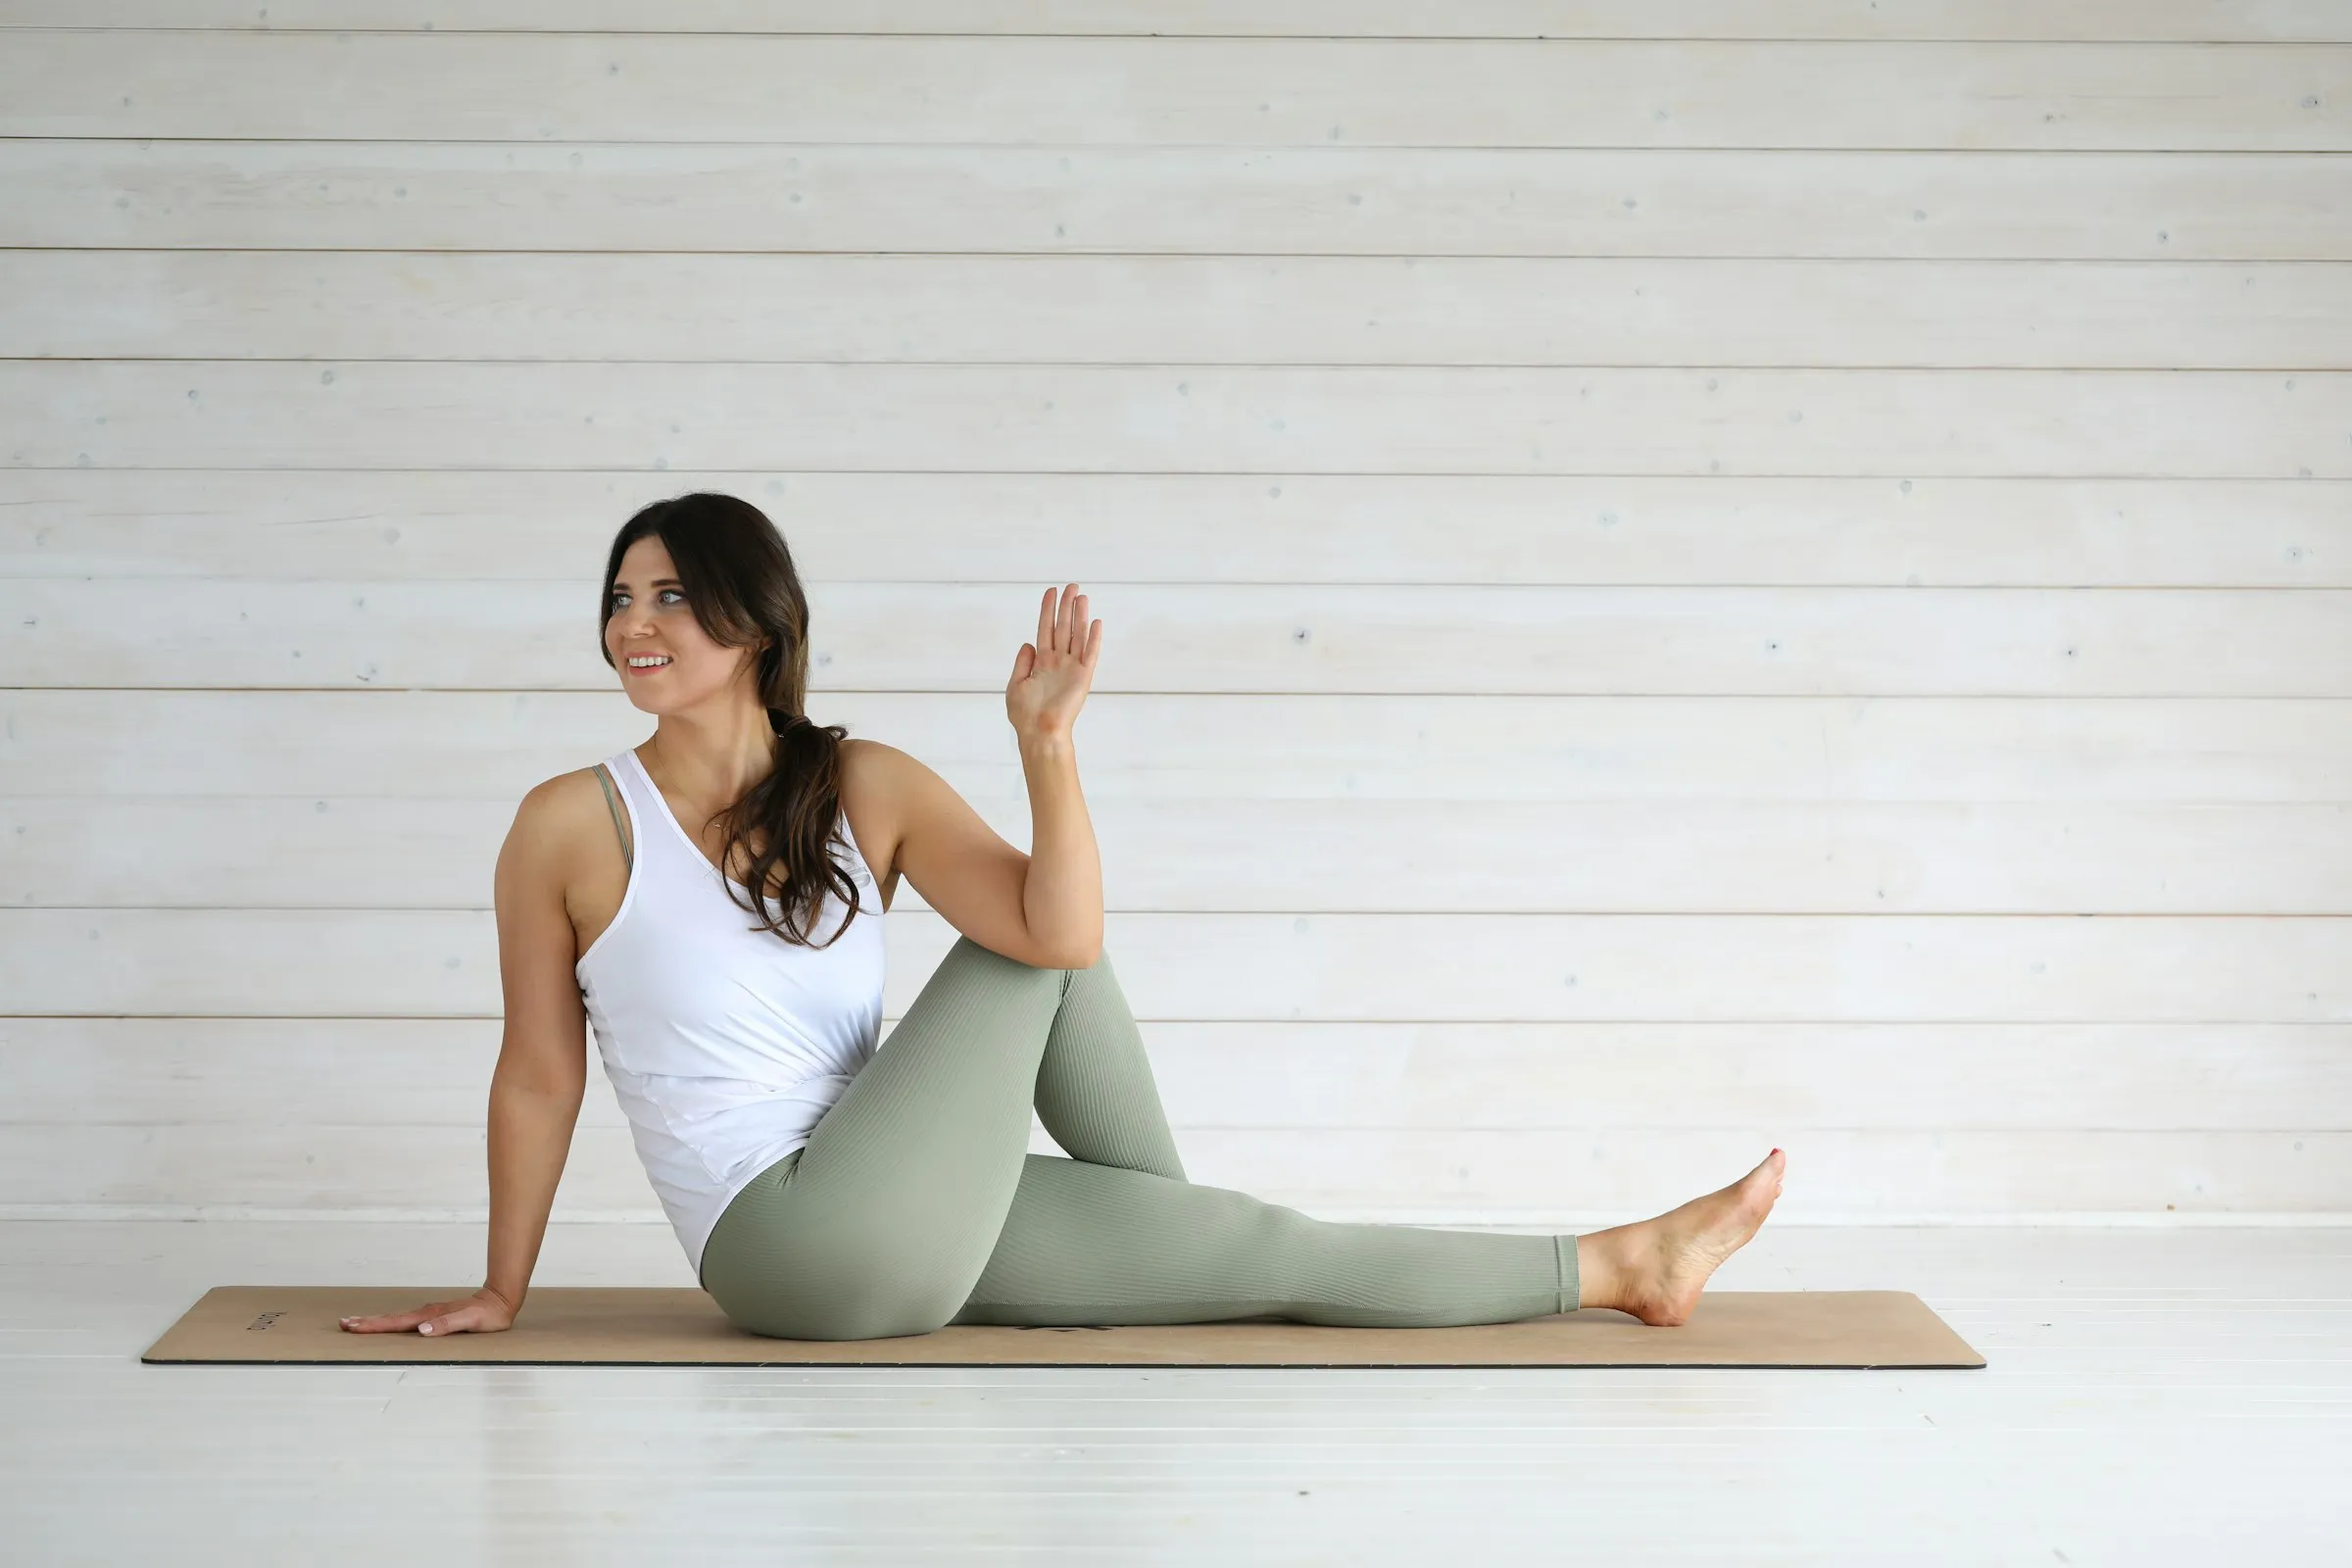
Lower both knees to the right, keeping them stacked, and stretch your arms out to the sides. Place a pillow under your knees if they don’t reach the floor comfortably. Breathe into your back ribs. After a minute, bring your knees back through center and lower them to the left.
6. Cat–cow
Time: 1½ minutes
Roll to one side and come onto your hands and knees, hands under shoulders and knees under hips. Breathe in as you soften your belly and lift your chest. Breathe out as you round your back and press the floor away. Move slowly for eight to ten rounds, keeping the range of movement comfortable.
Make it easier: Fold your blanket under your knees, and rest on your forearms if your wrists are sore.
7. Child’s pose
Time: 1½ minutes
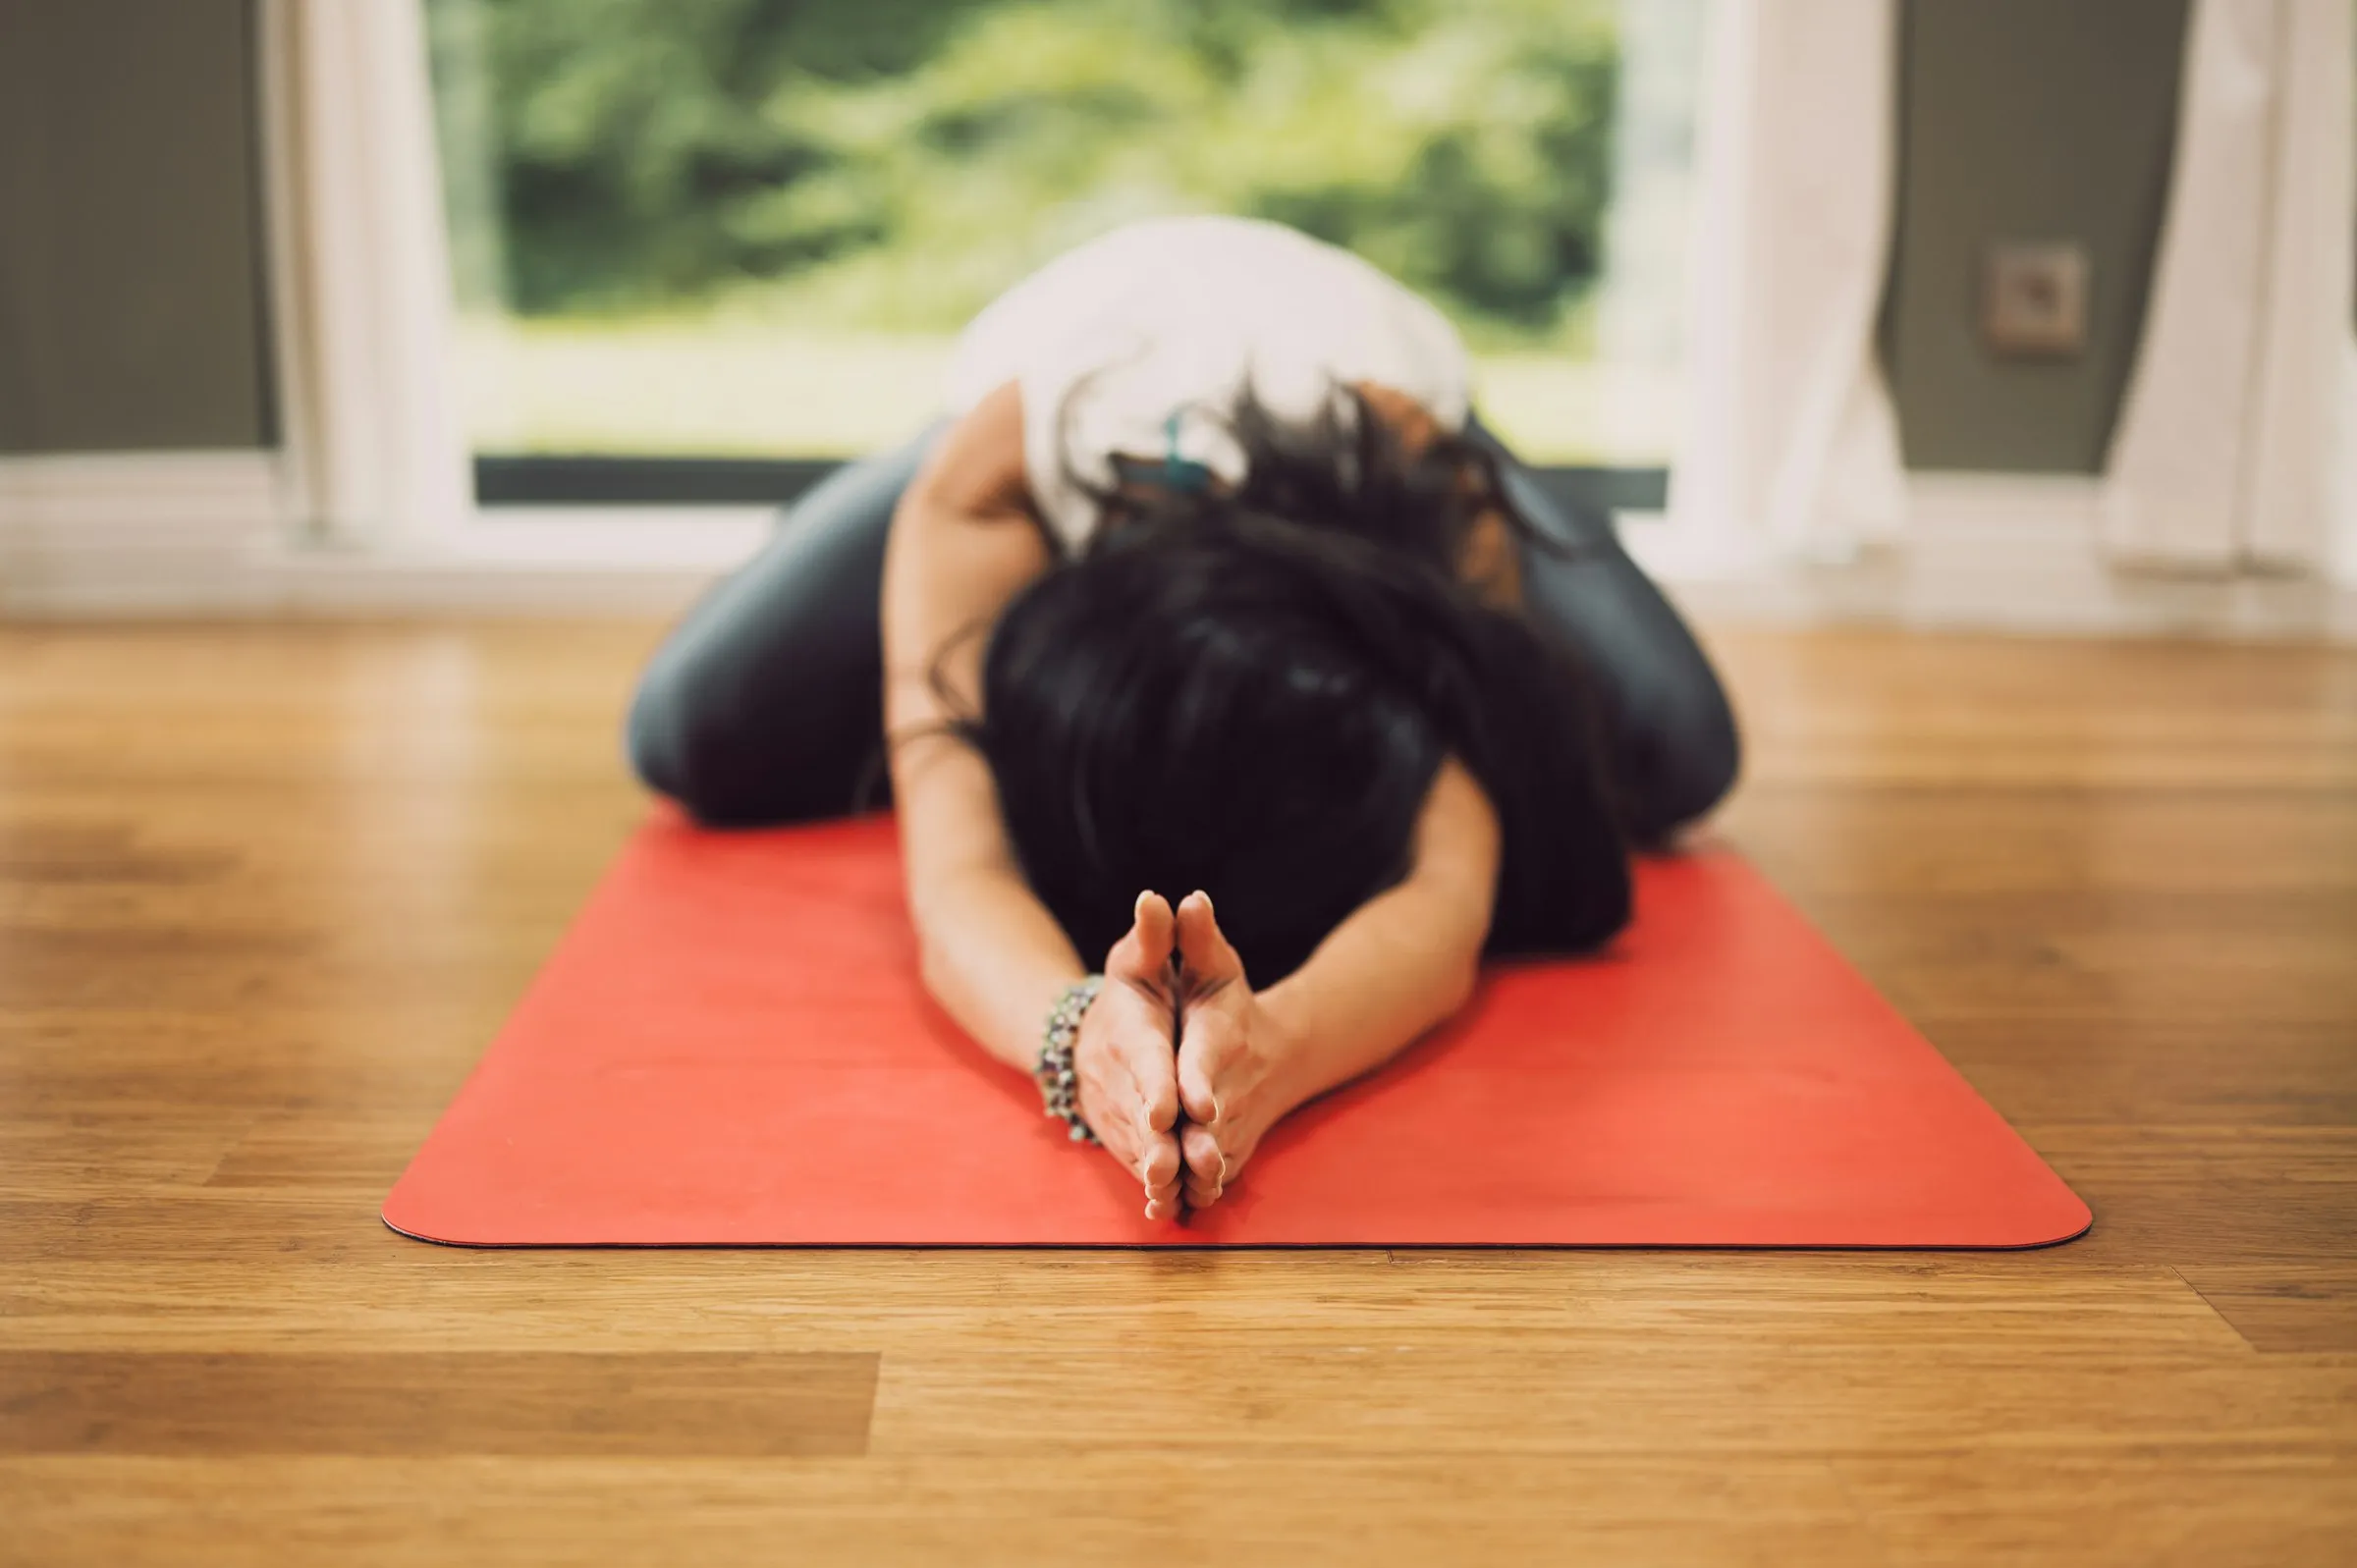
Bring your big toes together, widen your knees, and sit your hips back toward your heels. Rest your forehead on the floor or a pillow and let your arms lie forward or by your sides. Feel your back ribs widen as you breathe in.
Make it easier: Place a pillow between your calves and thighs if your hips don’t reach your heels.
8. Sphinx
Time: 1 minute
Lie on your belly and prop yourself up on your forearms, elbows under or slightly in front of your shoulders. Let your lower belly and hips stay heavy on the floor. This is a gentle backbend; if it pinches your lower back, slide your elbows farther forward or skip it.
9. Bridge lifts
Time: 1½ minutes
Roll onto your back with your knees bent and your feet flat, hip-width apart. As you breathe out, press into your feet and slowly lift your hips a few inches off the floor. As you breathe in, lower them back down. Repeat eight times, moving smoothly, then rest.
Make it easier: Lift only a little and keep the movement slow.
10. Rest
Time: 1 minute
Lie on your back with a pillow under your knees, arms by your sides, and let your whole body be heavy. Notice how your lower back feels now compared with when you started.
How often to do it
Gentle movement tends to help more when it’s regular than when it’s intense. Two or three times a week is a good start, and a short daily practice is fine if it feels good. If your back feels worse the next day, scale back to the poses that felt best, or check in with a professional.
Further reading
- Yoga: What You Need To Know, from the US National Center for Complementary and Integrative Health, including a summary of research on yoga for low back pain and safety notes.
Where to go next
If long days at a desk are part of the problem, the desk yoga sequence is a quick way to break up your sitting time. For evenings, the bedtime routine shares several of these poses.